
 |
| This was our first walk through of the house back in the summer of 2012. It was nice, but we didn't like how the kitchen and living room were separated... so we decided to change it. |
 |
| The plan was to take out the wall between the kitchen and living room. Easier said than done. |
 |
| And so it began... |
 |
| We had to cut the ceiling back two feet on each side for the temporary walls. |
 |
| Then the temporary walls went up... |
 |
| Next, the baby beam came out. |
 |
| And the big boy beam when in. It took 5 guys and myself to make this happen. I was pretty nervous that day! |
 |
| Finally, we took the temporary walls down. |
 |
| And went to work on the floor. It was nice tile work, but I wasn't a fan of peach. |
 |
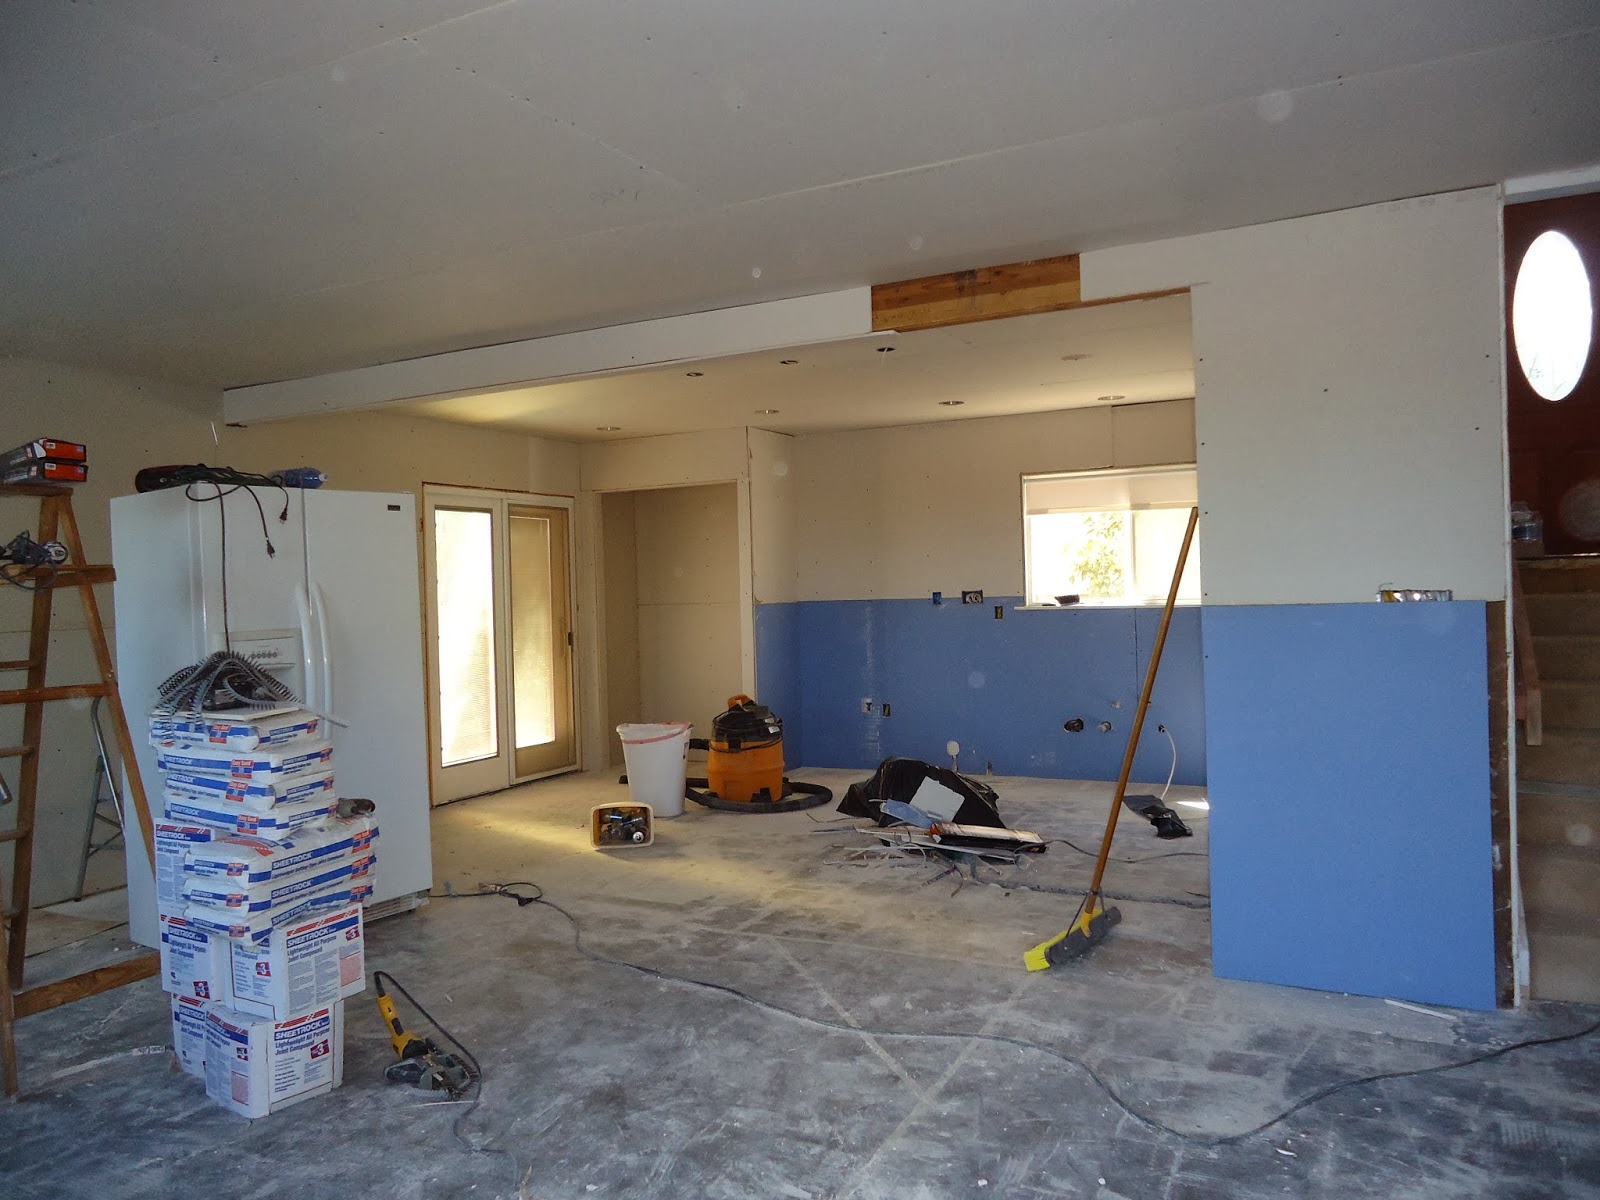
| Here are the steps that took place in and around this picture: 1) Rip out cabinets 2) Rip down drywall 3) Close up a window 4) Decide on lighting and fixtures 5) Inspect and revamp electric 6) Build pantry in corner |
 |
| Drywall went up. |
 |
| Tape and texture. |
 |
| Paint. |
 |
| Tile. |
 |
| Cabinets and fixtures. |
 |
| Top cabinets first. |
 |
| This was Mike's favorite part! |
 |
| Bottom cabinets last. |
 |
| Island, then counter tops. |
 |
| Finally lived in :) |
 |
| Carpet and furniture. |
 |
| View from the back sliding door. |
 |
| Pantry with doors. |
 |
| Pantry built by my husband. |
No comments:
Post a Comment