Showing posts with label project. Show all posts

Monday, August 19, 2019

DIY Cloth Napkins


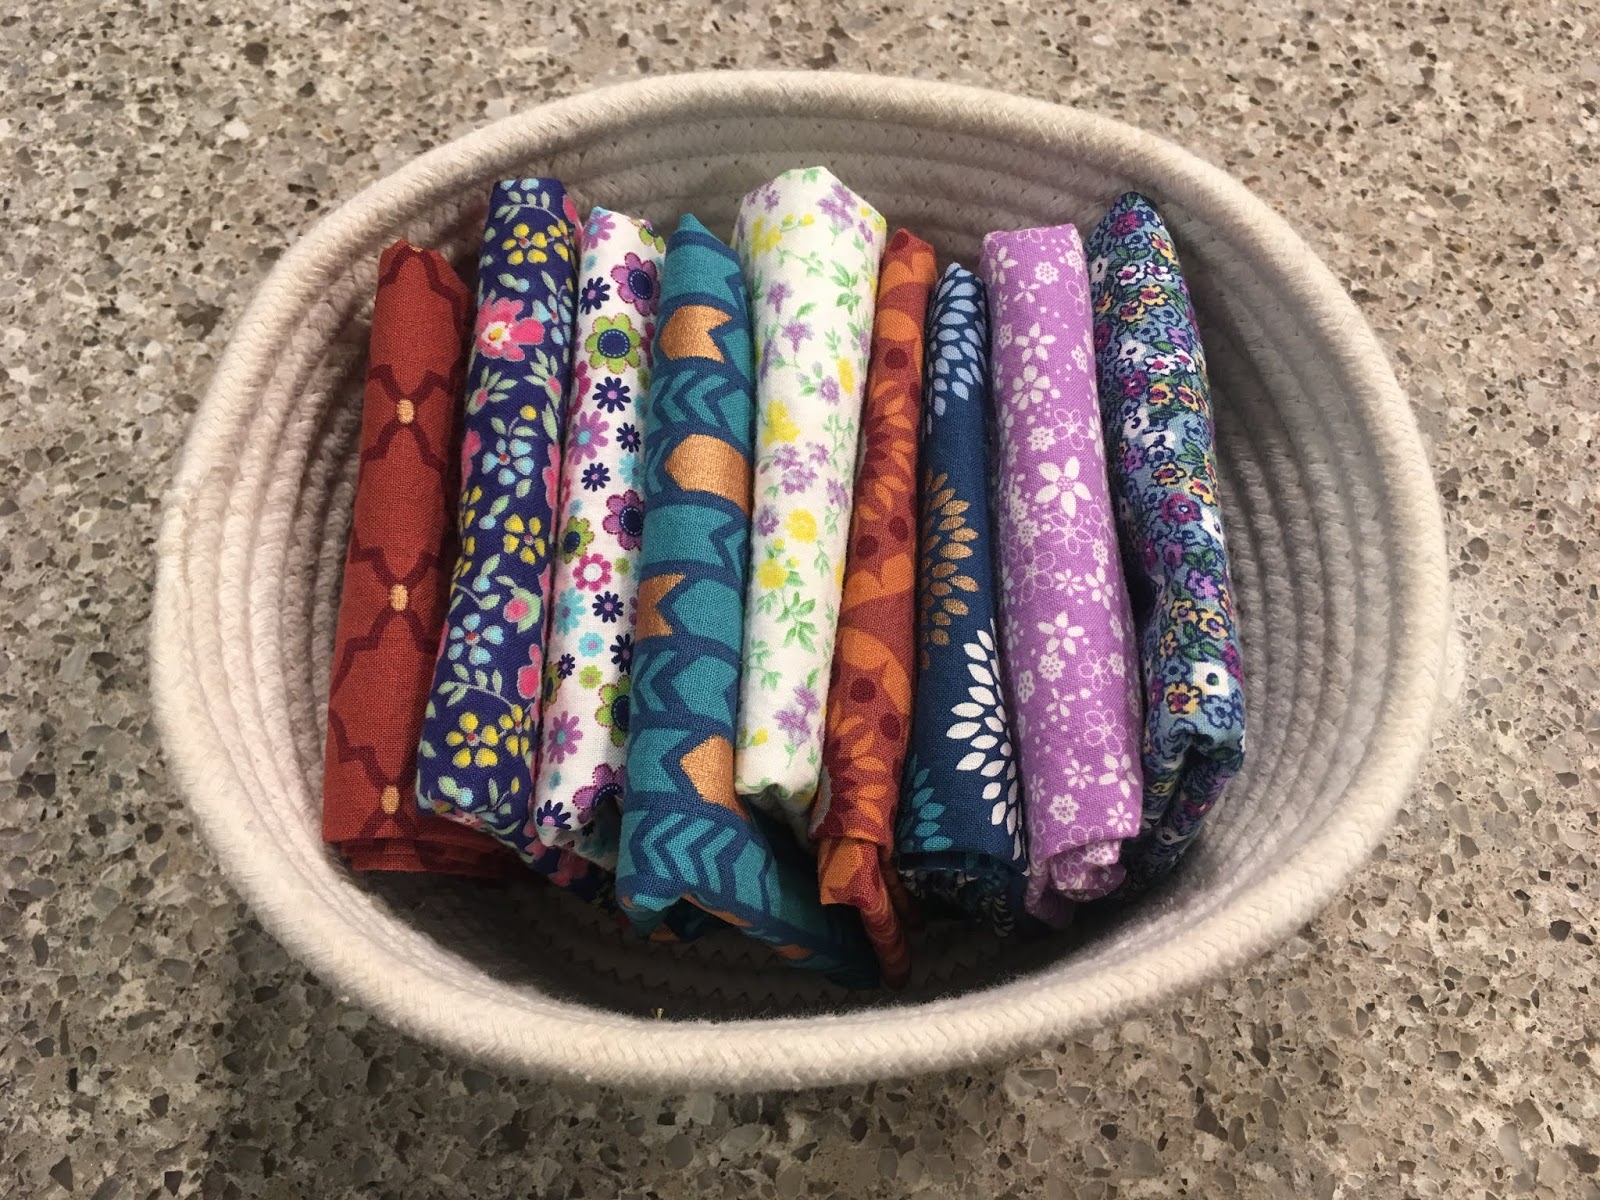
Aren't these just so pretty?!

I'll be honest.  Cloth napkins are such a foreign concept to me.  

Cloth napkins are at fancy places like The Olive Garden and upscale steakhouses.

They were seriously NOT on my radar whatsoever until I overheard two friends talking about them at a park play date.  

I do cringe every time I run out of paper towels. Thinking about dropping $20 on something that literally gets thrown into the trash seems so silly.  Don't get me wrong, I like using paper towels, but I thought it might be nice not having to buy them as often at Costco.  I'm guessing hoping the 12 pack of giant rolls will last MUCH longer now!

Here's what went down to make these babies.  I did a few at home, then finished the rest at a friend's house when we got crazy on a Friday night and stayed out late for craft night ;)

I'll be honest though... if you're really looking to make these, this is the video tutorial I watched.  Probably much easier than trying to follow my instructions!

What you'll need:
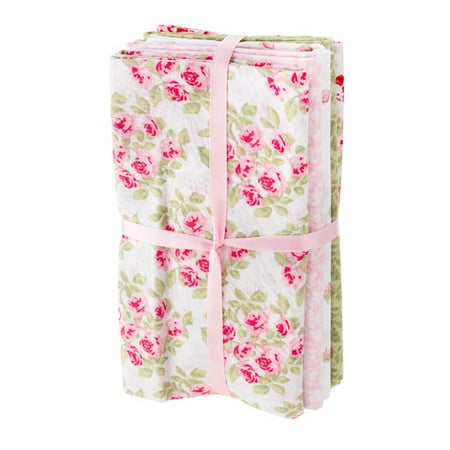
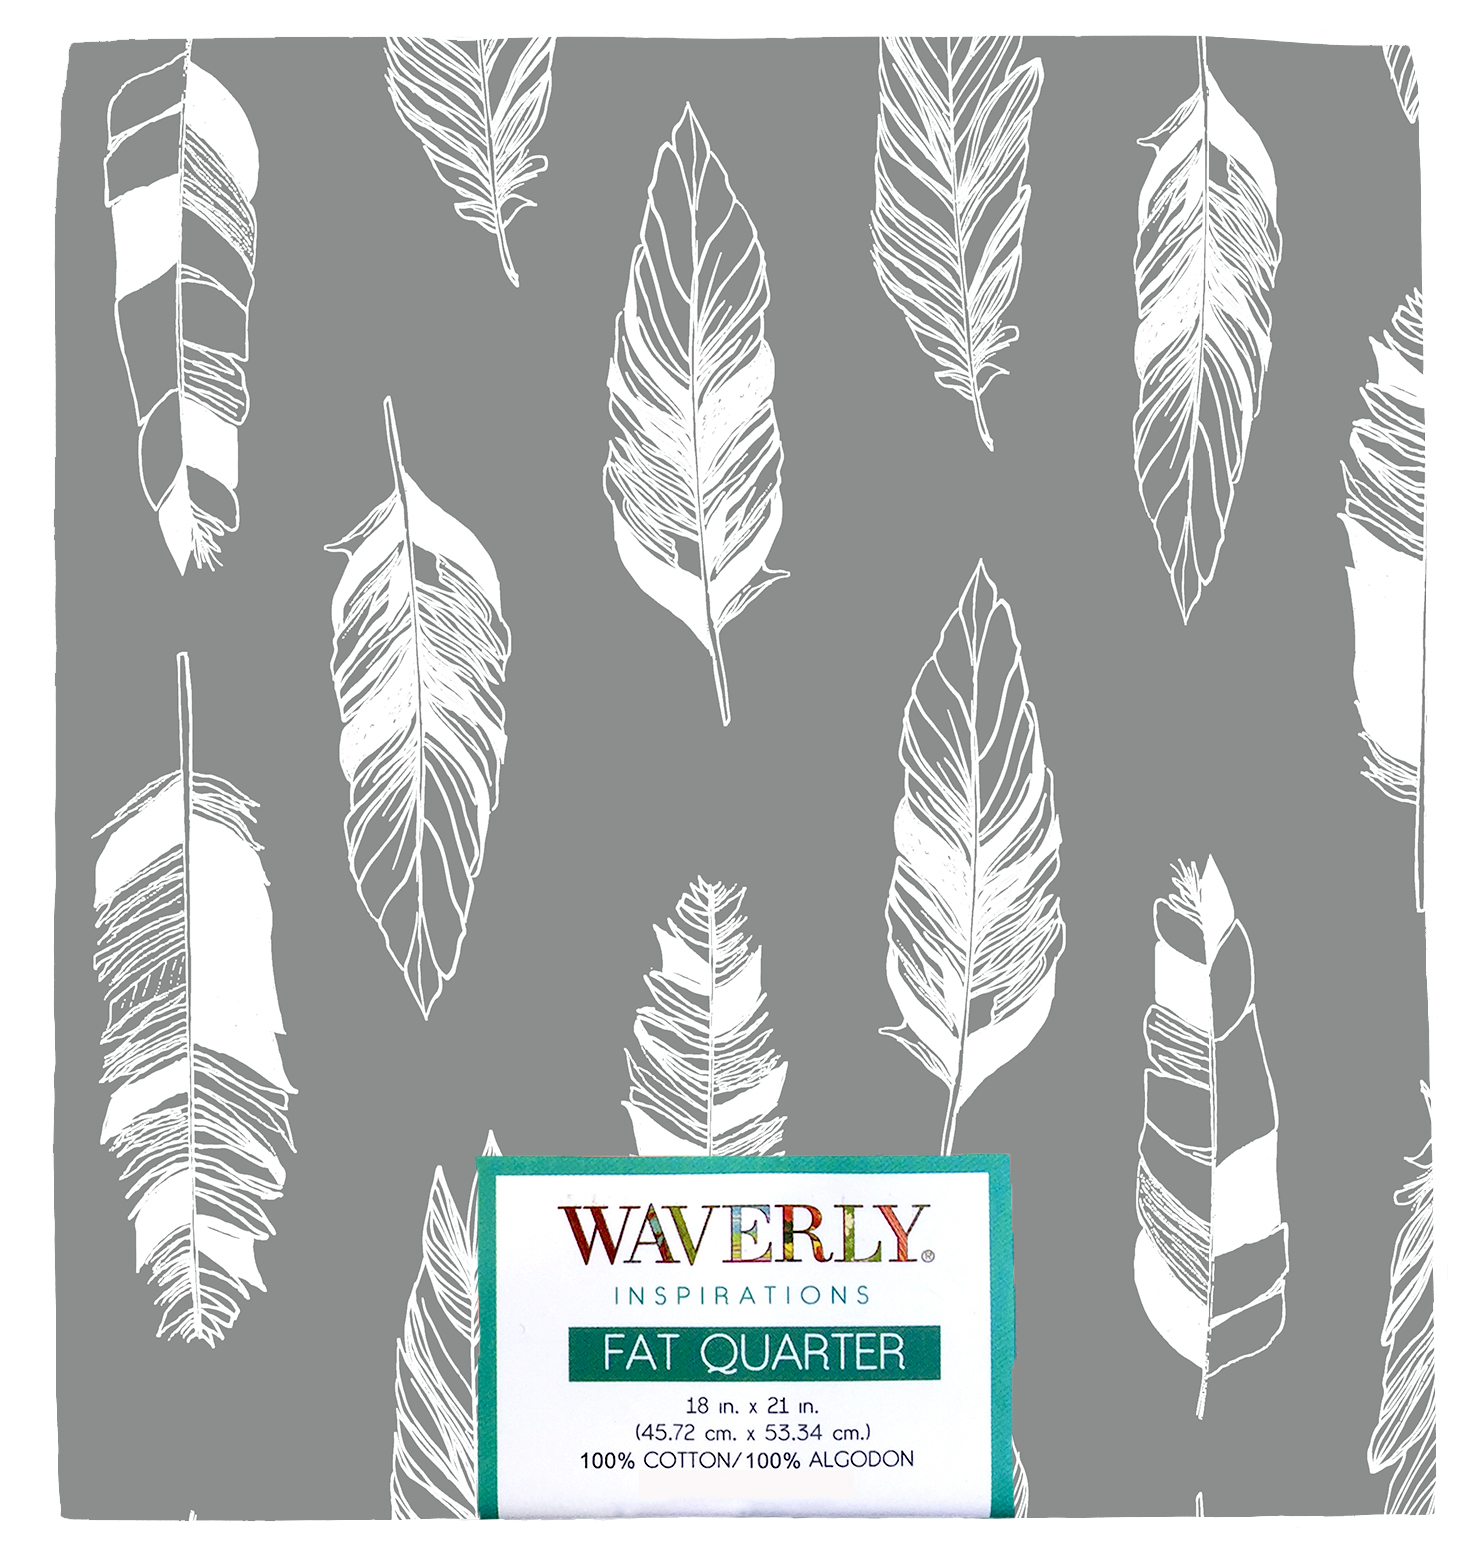
  • Fat Quarters fabric (got mine from Walmart). You can buy them individually, or in a bundle with colors that go together. I think a pack of five pieces was $5.44
  • Iron
  • Scissors
  • Sewing machine
  • Thread & bobbin


                             Floral Fat Quarter Bundle: 18 x 21 inches, 5 pack


You don't need to wash or trim the fat quarters!  All you do is iron each edge about half an inch and then again at one inch.  Seriously, watch the video if you are going to make these.

Essentially, you iron every side, then cut and fold every corner to make mitered edges.  Finally, you sew each edge. Here's a picture progression of what I remembered to photograph:


The girls are pretty pumped about these and are excited to set the table now!  They like to use them as place mats too :)  Happy crafting.  If you decide to try these, let me know how they turn out and what patterns you choose!

Tuesday, July 15, 2014

Front Entry and Lily at 6 Weeks

Well, life has been very busy with our sweet (and grumpy) Lily Grace.  Everyone who's ever had a newborn knows this stage all too well!  We're adjusting to life as parents, and she's figuring out how to do this "life outside the womb" thing.  Her personality is already shining even at six weeks and her temper flares regularly.  She's a feisty love bug who always keeps us on our toes!

She's not happy with "tummy time"
Lily's rage during daddy-daughter time.
She didn't like her one month photo shoot, haha.
Not a fan of family photos either.
Not too happy about getting ready for church.
She can be a pistol, but she has her
cute moments too.  Either way, she is loved!

On another note, Mike is back to work while me and little miss fussy pants are cruising at home.  I don't get a lot of free time, but I thought I'd take this moment of silence to update on some more house progress.  Mike didn't get to work on as many projects as he thought he would during his paternity leave.  He was a little busy changing diapers, singing to baby and watching about 40 World Cup matches.  I'm not even exaggerating.

We were able to refinance right after baby was born and do a few major things on the house.  1) We got the roof painted so 2) we can put solar.  We're on the waiting list, but it'll still be about six months or so before the panels go up.  3) We are getting the exterior of the house painted, so Mike will need to prep the outside by caulking and patching certain areas.     

One of the major accomplishments he did was redoing the front entryway outside.  The wood was rotting and the paint was awful.  It was on our list, but we didn't know when we'd get around to doing it.  Since we're getting the outside painted and we had redone the front doors a while back, it made sense to redo this area.  Here are some before and after shots.  It will look much better once the house gets painted, but you get the idea :)


This was a big project that we did several months back...
Another angle.
Under construction.

Doors done, but entry way needs work.

And so it begins.

Mike's handiwork.

Another angle.

Working hard.

Luke helping repair the concrete slab.

Close up.


And it's finished!  Now we're just waiting on the exterior paint!


Monday, July 1, 2013

A Bench and a Birthday

Weekends are always nice.  I must admit that it's weird not working during the day.  Don't get me wrong, I'm really enjoying my summer, but I just don't know what to do with myself some days.  On the weekend Mike is off of work, and we get to enjoy each other's company.  Lately, it has also meant that we can work all day on the house together.  I'm trying to to treasure this time.  Even though we both really want to see the house finished, there's something about doing the work ourselves that makes us all the more appreciative of every little detail.  Our friend Mitchell came over on Friday to help Mike chip up more concrete in the down stairs bathroom.  That evening as we sat outside by the pool and ate dinner; we joked that one day we'll laugh when we think of all the silly things we had to put up with during renovations:  
  • Walking through the temporary walls to get to the kitchen
  • Going to the bathroom with no door (or walls)
  • Stepping over the beast beam in the main room
  • Dodging the giant holes in the concrete

BENCH:  On another subject...I wanted to showcase my latest project.  It really has nothing to do with getting the house move-in ready, but I thought it would be fun.  Out of all the "projects," this is the one I've enjoyed the most to date--my DIY Bench make-over.  Here's my before and after and pictures with a step by step breakdown:

BEFORE: frame in decent shape
AFTER: see below
Most of the bolts looked like this.  
Time to choose a router bit :)
I decided to go with the quarter inch beveled edge.
After I used the router to shape the boards, I sanded them.
Staining is the fun part!  I chose dark walnut Rust-Oleum and exterior satin varnish to help protect against UV rays.  And of course, you can't forget the Coke Zero!  The spray paint was for the frame.
After staining and wiping they had to dry for a bit.
I achieved my desired color in only one coat of stain.
While the stain soaked in, I sanded down the old frame.
Then I painted it.  The bolts were a pain to removed,
but Mike helped me with his angle grinder.
I also painted all the bolts, nuts and washers.
Here it is... all put back together!
I still have to tighten the bolts down, but I'm happy with the outcome.
What do you think?
Nice color, huh?

Anyway, let's move on from that project.  Mike is always working on something.  His projects are usually just NOT as exciting as my projects, hehe.  He was chipping... need I say more?  Here is what he and Mitchell have accomplished so far.  The new plumbing should be reset soon.

My husband LOVES buying new tools :)
Ta...Da...
I know from a brief experience that handling the chipping gun
is a FULL BODY workout :)
BIRTHDAY:  Our friend, Bain, celebrated his 31st birthday on Friday, so we had a pool party BBQ at the house and took a break from work on Sunday.  After all, it is the day of rest :)  Happy Birthday, Bain!!

Some delicious Bratwurst... 
Madden taking a snack break :)
Matea, posing for the camera :)
Jo Jo in action.  The kids had lots of fun!
Then again, so did the adults!  Mike's bank shot.
Things got a little intense.  Nice face, Matt!
No rebound necessary...
I have a much greater respect for people who play water polo.
The boys getting crazy on the goal.
Another action shot.
Overall, it was another great weekend in Makakilo.  Until next time...