Though the progress has been subtle, all I can say in regard to this picture is that our backyard planter has come a long way since 2013!


The pictures above were taken during our first walk-thru of the house sometime around May of 2012. The focus is the upper planter, so let's remember all that was there.
In the center, there was a giant Christmas Berry tree that may have been lovely in its prime. We never knew or got to enjoy that day.
There were also six palms that grew too big for the area in which they were planted. Lastly... there were SO MANY ROCKS! Not only was the entire planter covered in gravel, but there were giant rocks everywhere. Mike used a few to rebuild a section of the wall, some were given to friends, and the rest were listed for free on FB marketplace. People came real quick for those, haha!
 |


We also had that stint of having a fire pit up there, but that didn't work out so well. The smoke blew straight up and over the wall into the neighbors' yard and we felt bad. So we didn't use it very often.

Fast forward to January 2019. Mike decided to take out a portion of the wall to put in (what will eventually be) stairs coming down from a new gate. So, more digging commenced. Then after backbreaking hours of digging, he re-built the corner portion of the wall. He was excited to try his hand at a new project. Building a rock wall is not something he had attempted before, but his masonry skills aren't too shabby if you ask me :) I'm always so proud of his accomplishments!
He built his own form, and even poured the top concrete layer himself.


The pictures below were taken sometime around the end of 2019, maybe Octoberish. Then, in December Mike had one of the youth boys from church help him dig out roots to place pavers in the far side of the planter. They dug and dug and dug... then placed gravel and rented a tamper, then added the pavers and grout.
 |
| Just getting to this point in the process was huge. We enjoyed the flat ground for a while with the ghetto paint job and rainbow faded foam tiles so the kids didn't hurt their feet on the rocks! |


Next came prepping the rest of the area for grass. In order for this to happen, we had to move a lot of stinkin' gravel. We didn't want to get rid of all of it in case we need it in the future for another concrete project and the stairs. But below are the pictures of the ground being prepped for sod.


 |
| Flattening it out with the weighted water roller |

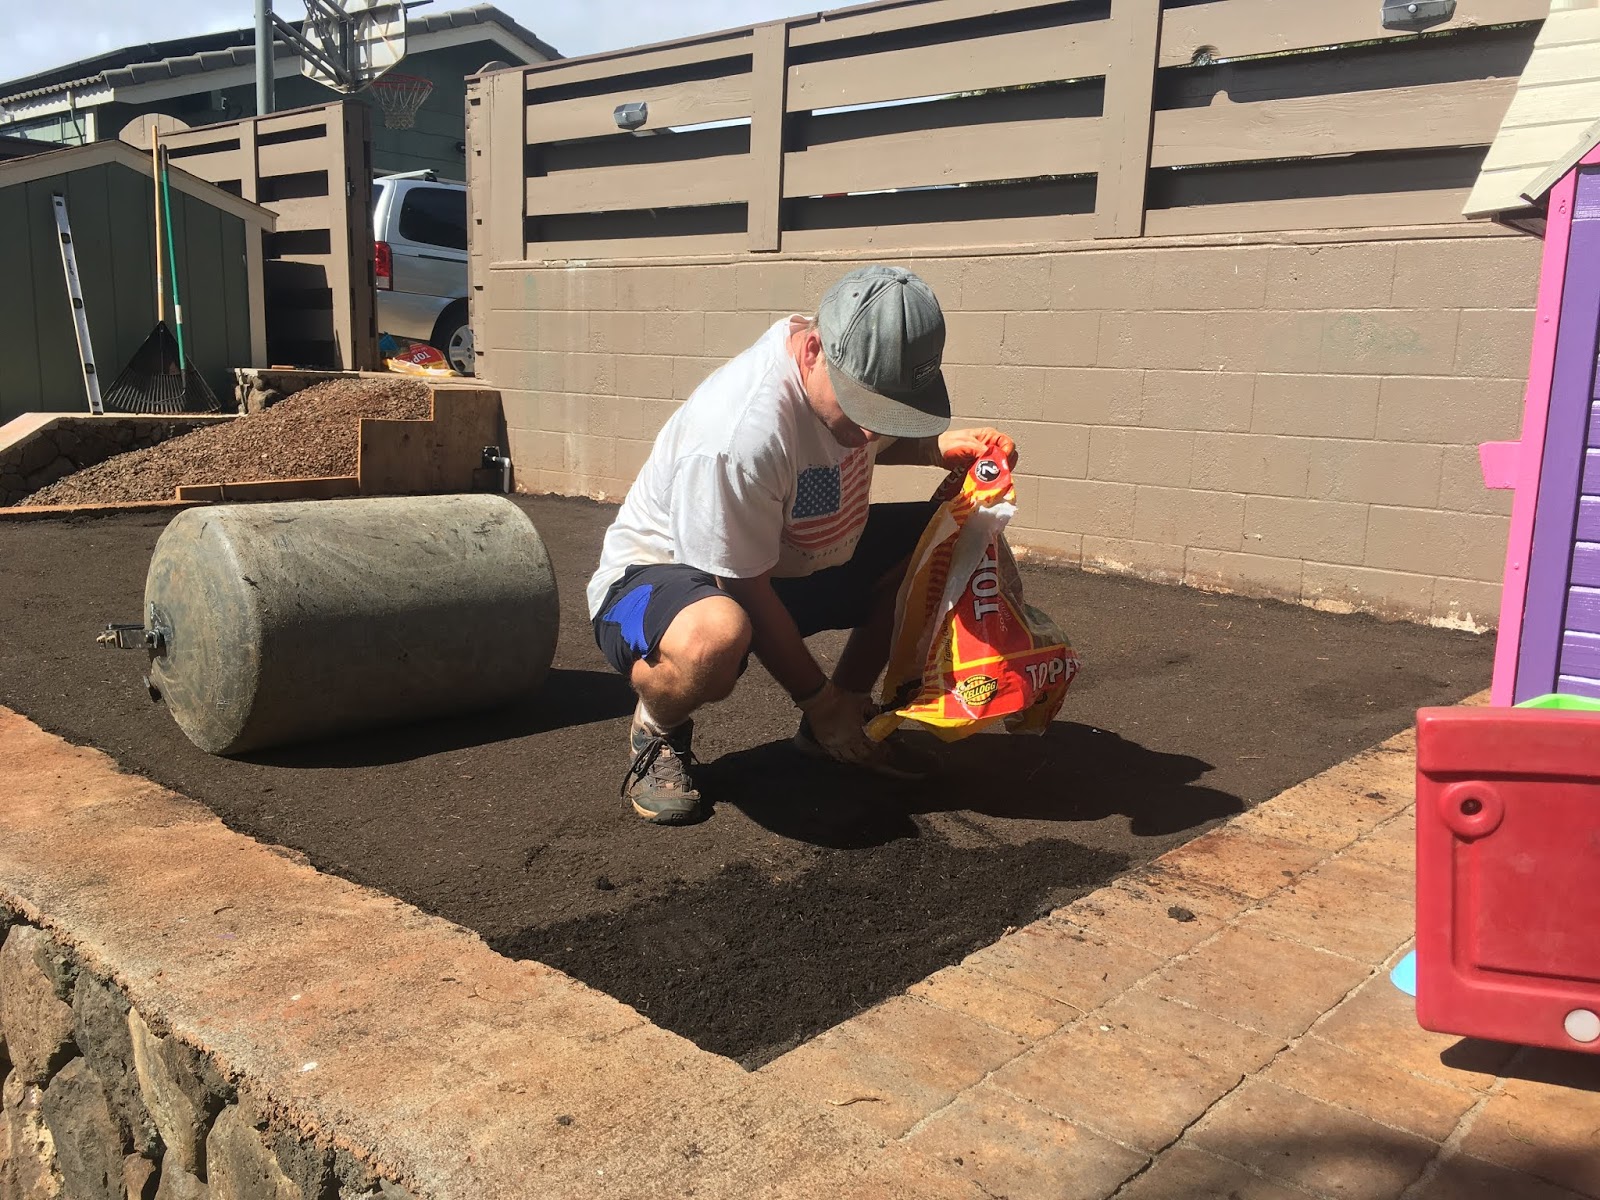 |
| Adding the top soil |
 |
| Rolling out the sod |

 |
| Just after laying the sod |

 |
| In use :) |
It may not look like much to the random visitor to our backyard, but there have been many hours toiling over this area to get it where it is today. We're not completely there yet (the stairs and landing still haven't happened), but we are enjoying where we are and remembering how much work it took to get to this place. It makes us appreciate the space so much more knowing we did it ourselves.
Owning your own house definitely has its perks, but it comes with a lot of responsibility too, we've discovered. There's always a project to be done or something that needs upgrading or attention.
Here's the before and after to enjoy one last time!
 |
| BEFORE (2012) |
 |
| AFTER (2020) |