Showing posts with label craft. Show all posts

Monday, August 19, 2019

DIY Cloth Napkins


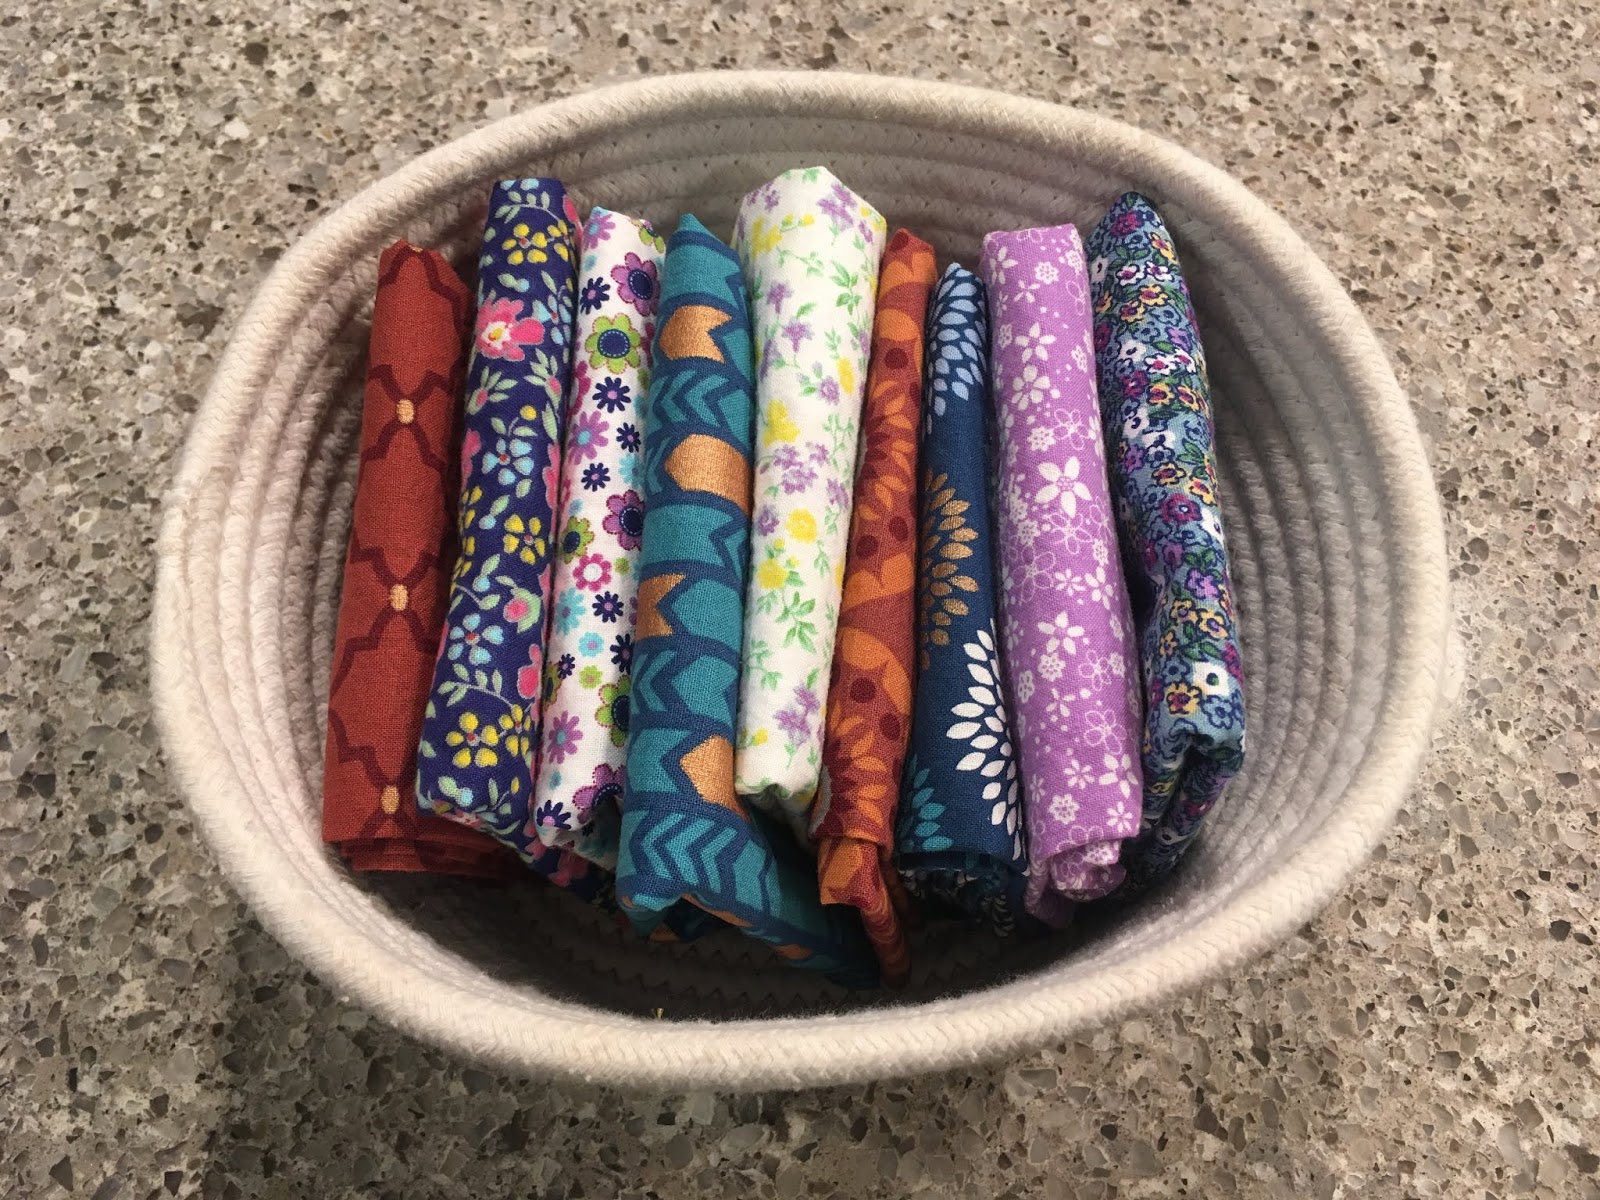
Aren't these just so pretty?!

I'll be honest.  Cloth napkins are such a foreign concept to me.  

Cloth napkins are at fancy places like The Olive Garden and upscale steakhouses.

They were seriously NOT on my radar whatsoever until I overheard two friends talking about them at a park play date.  

I do cringe every time I run out of paper towels. Thinking about dropping $20 on something that literally gets thrown into the trash seems so silly.  Don't get me wrong, I like using paper towels, but I thought it might be nice not having to buy them as often at Costco.  I'm guessing hoping the 12 pack of giant rolls will last MUCH longer now!

Here's what went down to make these babies.  I did a few at home, then finished the rest at a friend's house when we got crazy on a Friday night and stayed out late for craft night ;)

I'll be honest though... if you're really looking to make these, this is the video tutorial I watched.  Probably much easier than trying to follow my instructions!

What you'll need:
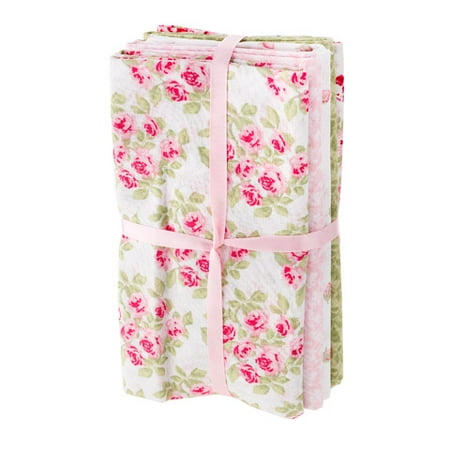
  • Fat Quarters fabric (got mine from Walmart). You can buy them individually, or in a bundle with colors that go together. I think a pack of five pieces was $5.44
  • Iron
  • Scissors
  • Sewing machine
  • Thread & bobbin


                             Floral Fat Quarter Bundle: 18 x 21 inches, 5 pack


You don't need to wash or trim the fat quarters!  All you do is iron each edge about half an inch and then again at one inch.  Seriously, watch the video if you are going to make these.

Essentially, you iron every side, then cut and fold every corner to make mitered edges.  Finally, you sew each edge. Here's a picture progression of what I remembered to photograph:


The girls are pretty pumped about these and are excited to set the table now!  They like to use them as place mats too :)  Happy crafting.  If you decide to try these, let me know how they turn out and what patterns you choose!

Thursday, March 27, 2014

Spring Break, part 2 (Adventures in Sewing)


Spring Break is progressing nicely.  I have enjoyed my time to far and feel very accomplished!  I have several updates, but this post will only address one.

Since Mike was busy working on the living room trim, I started a project of my own.  My friend, Esther, let me borrow her sewing machine on Sunday!  She brought it over and we got to chat and catch up with each other.  It was a nice visit.  She showed me how to make quick and easy pillow covers (which I've been wanting to do for a while now).  It turned into a whole week process rather than a one day thing.  I started the first two on Sunday night and finished up this morning (Thursday).  It's been very easy, enjoyable, and rewarding. 


The fabric wasn't cheap.  Walmart let me down on that end, but I figure since I can take them off and on to wash them, then it should be worth the money.  I used a nice paisley(ish) design that matches the living room curtains for the front, and khaki looking muslin for the backing.  $7.94 a yard for the design pattern, and $4.88 for the khaki. 

I had a total of eight pillows to cover--three small and five larger ones.  Here's how it went down:

First, I needed a sewing machine... thanks Esther!

Next, I cut the back fabric just a little bigger than the pillow itself.
I folded the side that I'd stitch, then...

I ironed it.

Then I sewed a simple stitch on the ironed portion.

Next, I laid out the fabric I planned to use for the front.  Good side facing up.

I made sure that it was about the size of the
existing pillow, so it'd fit nice and snug.

Next, I laid the half sheet of backing (good side facing down)
on top with the stitch toward the middle section.

Then I did the same thing with the other half piece and pinned it.

Here's the fun part once it's all pinned... sew all the way around the square!
I just used one simple stitch about a quarter inch from the edge of the fabric.
The good news is that it doesn't have to be exact since it gets turned inside out anyway :)

Now flip it!

Voila!

And there you have a simple (and removable) pillow cover!

Here's the pillow stuffed inside.

And the back, for easy removal.

I did the same thing for some small pillows I had as well.   This is all of them together.

I'm loving blues and tans for some reason!

My final picture.  I just love the way these look and match my living room!
  

Monday, July 29, 2013

My Attempt at Crafty

I'm happy that I still have a week of summer left!  It's a bitter-sweet feeling.

It's dreary outside.  I was supposed to leave for Molokai today on one last summer adventure, but my plans have been thwarted by tropical storm Flossie.  I don't think she'll be much more than a lot of rain here on the islands, but of course everyone takes necessary precautions.

The itch I've had on my legs and arms for over a week now STILL itches.  I'm breaking down and calling the doctor today to try and get some relief.  Today looks like it might be a "read a book inside" kind of day.  We shall see.

I don't have a huge house update, we've been plugging away at it little by little.  More pics on that later.

The update I did want to share is my latest DIY craft!  I have been wanting to put a little reading nook in my classroom for a while.  This summer finally afforded me the opportunity to make one that's perfect for the space.  It's an "L" shaped bench that my students can use to take a break from their desk while they read.

The finished product.
  
I made it all by myself; here's how it went down.  I don't know if you want to call it a tutorial, but here are my version of step by step instructions:

I started out with a few 2x4s and I used a 4x4 for the legs. 
I cut them the lengths I wanted using a chop saw.   I think the long
bench was about 60 inches, and the short about 30 inches.  
One I got them the desired length, I cut each piece at a 45 degree angle.
Using a circular saw, I cut the plywood to fit just inside the 2x4s with a little bit of wriggle room.
I think I used 5/8" plywood--it was thick--and leftover from house stuff.  
Here's the long piece cut.
The 2x4s fit snugly around the plywood.
A close up.
I measured each 4x4 leg post at 12 inches.  I want the bench to sit kind of low for my students.
Four of the eight.
On the long bench, I cut one extra 2x4 for the center to add some strength.
Here's everything laid out before I sand and stain.
I chose Dark Walnut stain.  I don't have a picture of it, but I sanded the boards pretty well before applying this.
Here are the stained pieces.  I let them dry overnight.
After cutting, sanding, and staining, it was time to screw them all together!
I screwed the posts directly to the 2x4s with 4 screws (3 inch I think?)
Then I cut the foam to put on top of the plywood.  The foam was rather expensive!
The foam laid out.  Time to add the fabric.
Mike bought me a staple gun!  It was super easy to use :)
I stretched the fabric a little and stapled.
Bam.
Action shot!
The underside of the long bench.
And voila!  This is NOT my classroom obviously.  I post a pic of the
finished product all set up and ready to go before school starts!
August 7th, I'm not really ready for you to come, but at least I finished my bench... I hope the kids like it!  It's S.U.R.F. time in English class...